Sourdough baking is an age-old tradition that combines the art of baking with the science of fermentation. A crucial element in this process is the sourdough starter, a mixture of flour and water teeming with natural yeast and bacteria. This guide delves into the intricacies of preparing and understanding your sourdough starter, ensuring it’s in prime condition for baking. From the quantity needed to understanding peak activity and the importance of temperature, we’ll explore the nuances that can make or break your sourdough bread.
Sourdough baking is greatly influenced by the starter’s state. The amount used, typically 10-30% relative to flour weight, determines the bread’s flavor and rise. For optimal results, feed the starter 4-8 hours before baking, ensuring it reaches peak activity with a bubbly consistency and a tangy aroma when you’re ready to bake.
1. Quantity of Sourdough Starter for Baking
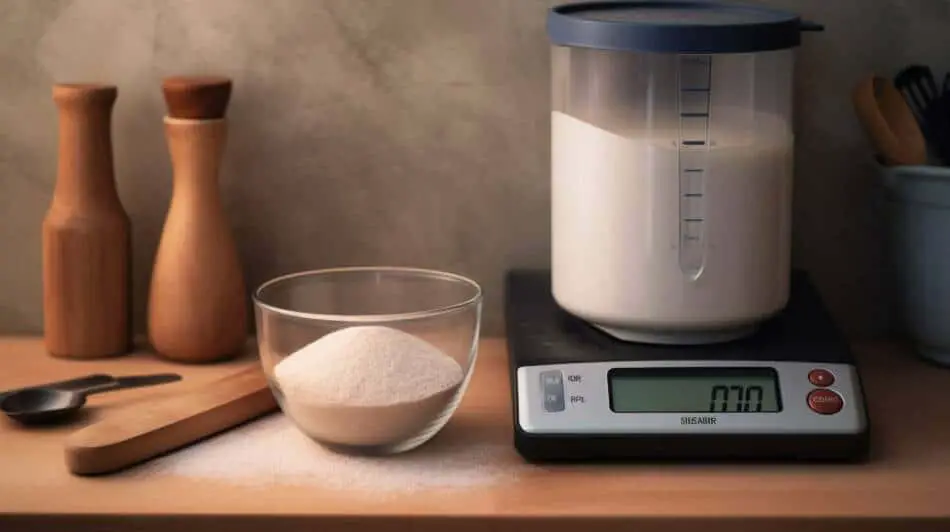
The quantity of sourdough starter used in baking directly impacts the bread’s flavor and rise. Typically, recipes recommend 10-30% starter relative to the flour weight. A higher starter percentage yields a tangier flavor and faster fermentation, while a lower percentage results in milder sourness and slower rise.
The exact amount varies based on the desired sourness and bread type. Experimentation is key to achieving the preferred taste and texture in sourdough baking.
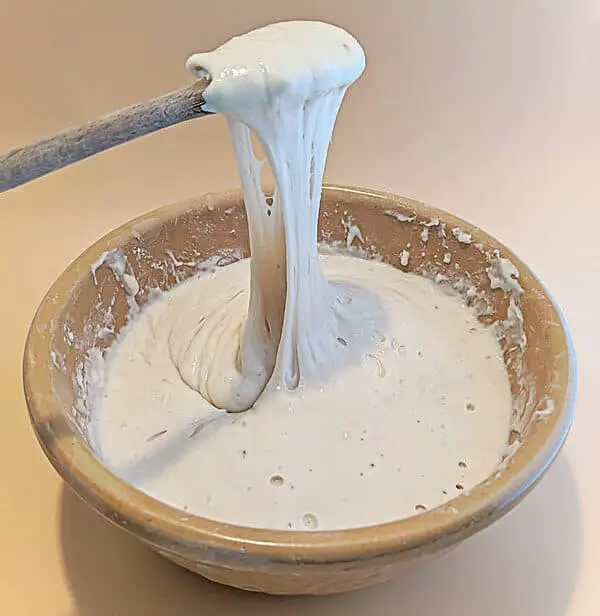
2. Understanding Peak Activity
Peak activity refers to the point when your sourdough starter is most active and ready for baking. Using the starter at this stage ensures a good rise and a well-developed flavor in your bread. You’ll know your starter is at its peak when it has doubled in size, shows a lot of bubbles, and has a slightly domed surface.
a. The “Float Test”
A simple way to check if your starter is ready is the float test. Drop a small spoonful of starter into a glass of water. If it floats, it’s ready to use. If it sinks, it might need more time to ferment.

b. Signs Your Starter Isn’t Ready
If your starter lacks bubbles, appears flat, or has a strong acidic smell, it might not be ready for baking. Additionally, the presence of a liquid layer on top, known as hooch, indicates that your starter is hungry and needs feeding.
c. Reviving an Inactive Starter
All is not lost if your starter has been neglected. Begin by discarding any hooch and feed it regularly. If it starts bubbling and rising again, it’s still viable. If there’s no activity after several feedings, it might be time to start a new batch.
3. Starter Temperature and Baking
For optimal yeast activity and fermentation, it’s recommended to maintain the starter’s temperature between 78°F (25°C) and 82°F (28°C). This range ensures that the yeast remains active and ferments at a steady rate, producing consistent results in terms of flavor and texture in the final baked product.
When you’re getting your starter ready for baking, it’s crucial to monitor its temperature. Using a kitchen thermometer can help in achieving this. If your starter is colder than the ideal range, you can place it in a warmer spot in your kitchen or use a proofing box. If it’s too warm, you can move it to a cooler location. Ensuring the right temperature will lead to a well-fermented starter that’s ready for baking.
4. Timing Your Feeding Prior to Baking
Feeding your starter 4-8 hours before baking is crucial for achieving the best results. The exact timing can vary based on the ambient temperature, with warmer conditions speeding up fermentation. Additionally, the ratio in which you feed your starter (e.g., 1:1:1 of starter:water:flour) can influence how quickly it reaches peak activity. The higher the ratio, the longer it takes to reach peak activity.
a. Using a Starter Straight from the Fridge
While it’s possible to use a starter directly from the refrigerator, it’s not ideal. A cold starter might be sluggish and not give the desired rise to your bread. It’s best to let the starter come to room temperature and show signs of activity before using it in a recipe.
b. Baking Immediately After Feeding
Although tempting, it’s generally not recommended to bake right after feeding your starter. This is because the yeast and bacteria need time to produce the gases that make bread rise. Waiting until the starter is at its peak activity ensures optimal bread texture and flavor.
5. Rehydrating a Dried Sourdough Starter
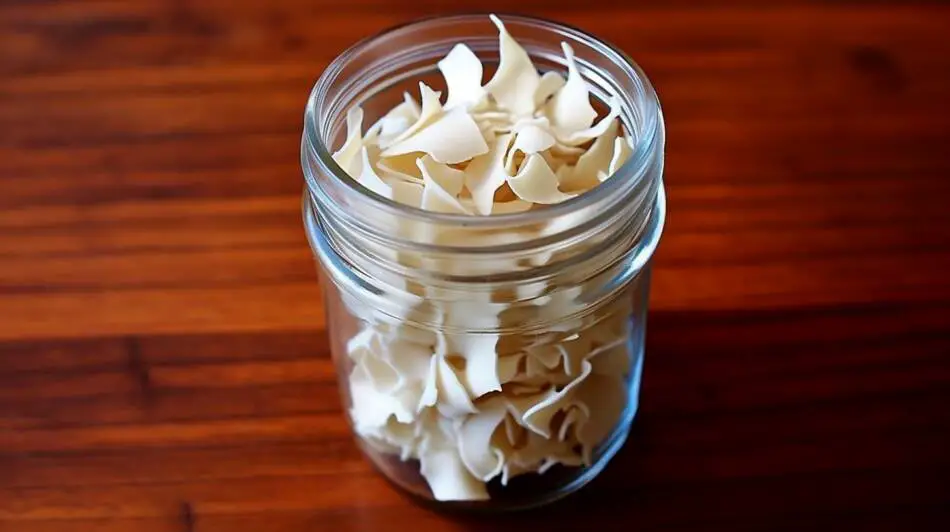
If you’ve purchased a dried sourdough starter, rehydrate it by mixing it with equal parts water and flour. Reviving a dried starter can take time. It’s essential to be patient and not rush the process. With consistent feeding and the right conditions, the starter will become bubbly and robust, indicating its readiness for baking.
Conclusion
Mastering the art of sourdough baking requires patience, understanding, and a keen eye for detail. The sourdough starter, often termed the “heart” of sourdough baking, plays a pivotal role in the outcome of your bread. By understanding its needs, from feeding schedules to temperature requirements and signs of peak activity, you can harness its full potential. Whether you’re reviving a dried starter or nurturing an active one, remember that every loaf tells a story, and at its core is a well-tended sourdough starter. Happy baking!