The world of sourdough baking is as much about patience and resilience as it is about flour and water. Sometimes, life gets in the way, and maintaining a liquid sourdough starter becomes challenging. Drying your starter is a fantastic way to preserve it for extended periods. But how do you bring it back to life when you’re ready to bake again? This article offers a step-by-step guide on rehydrating a dried sourdough starter.
Why Dry Your Sourdough Starter?
Drying a starter is a method of preservation. It allows the starter to become dormant and can be stored without feeding for many months. This is especially useful if you’re traveling, taking a break from baking, or simply want a backup.

Ingredients and Equipment Needed:
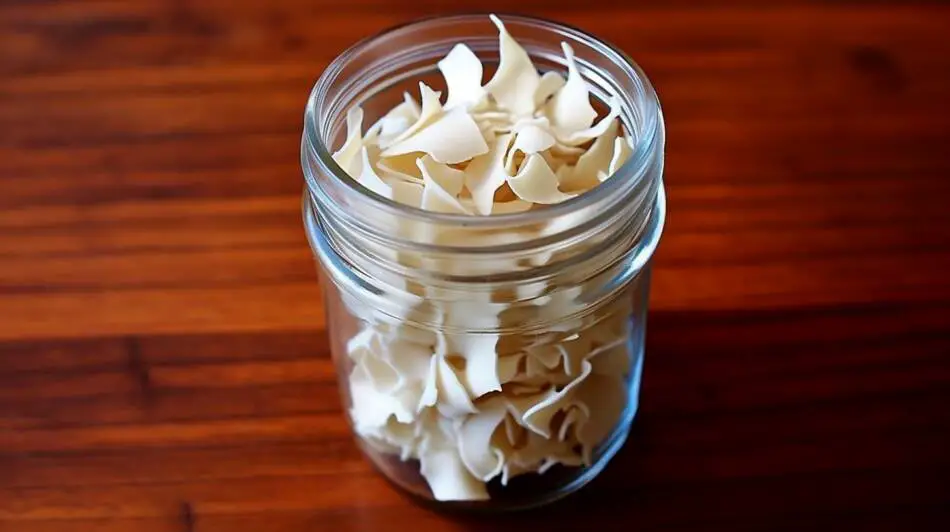
- Dried Sourdough Starter: Your preserved dried starter flakes or chunks.
- Filtered Water: To avoid chlorine and other chemicals that could hinder the starter’s activity.
- Flour: Unbleached all-purpose, whole wheat, or rye are commonly used. The choice of flour can depend on what the starter was originally fed with.
- A Jar or Container: Preferably glass or ceramic with a wide opening.
- A Silicone Spatula or Wooden Spoon: For mixing.
- A Cloth or Loose-Fitting Lid: To cover the container, allowing gas to escape while protecting the starter.
- Digital Scale (Optional but Recommended): For precise measurements.
- Thermometer (Optional): To check water temperature, ensuring it’s lukewarm and not too hot which could kill the beneficial bacteria and yeasts.
Instructions:
1. Break or Grind the Dried Starter
Begin by breaking your dried starter into small pieces. If it’s in flakes, you can use them as they are. The goal is to increase the surface area to facilitate faster rehydration. For a more refined approach, you can pulse the dried starter in a blender or food processor until it becomes a fine powder.
2. Mix with Lukewarm Water
In a clean jar or bowl, combine the ground or broken-up starter with lukewarm water. Aim for a ratio of two parts water to one part dried starter by weight. Mix well until the starter is well-distributed in the water.
3. Add Flour
To the wet mixture, add an equal weight of fresh flour of your choice to the original dried starter. If you started with 50 grams of dried starter, add 50 grams of flour. Stir until you achieve a thick, paste-like consistency.
4. Let it Rest
Cover your jar or bowl loosely with a lid or cloth. Allow the mixture to sit in a warm place (ideally between 78°F (25°C) to 82°F (28°C) for 12-24 hours.
5. Check for Bubbles
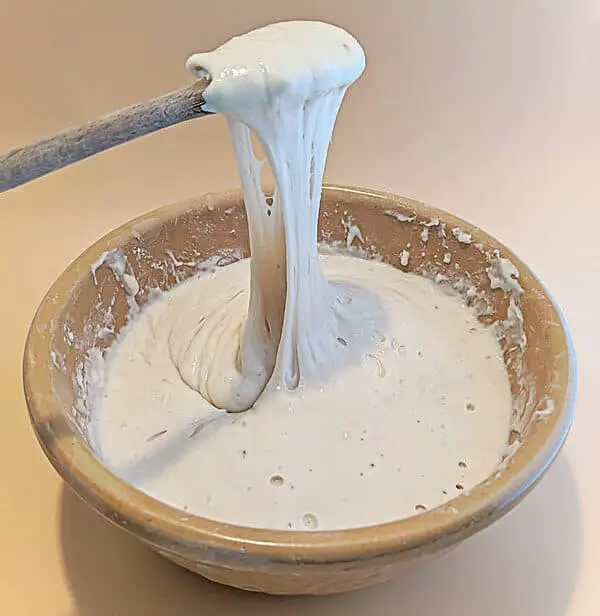
After 12-24 hours, check your starter for signs of activity. You’re looking for bubbles and a slight increase in volume. This indicates that the yeast and bacteria are waking up and beginning to ferment the mixture.

6. Feed the Starter
Discard half of the mixture and feed it using a 1:1:1 feeding ratio of equal parts starter:flour:water by weight. This might be around 100 grams each for most starters. Mix well and let it rest again.
7. Repeat the Process
Over the next week, continue discarding half and feeding your starter once or twice daily. Look for it to become bubbly, rise significantly in volume, and exhibit a pleasant, tangy aroma.
8. Ready to Bake:
Once your starter is doubling in volume within 4-8 hours after feeding and has a tangy smell, it’s ready to be used in your sourdough recipes!
Conclusion
Rehydrating a dried sourdough starter requires a bit of time and patience, but the process is relatively straightforward. The key is to provide a conducive environment for the dormant yeast and bacteria to become active again. With proper care, you can successfully revive your dried starter and get back to baking delicious sourdough bread in no time.
