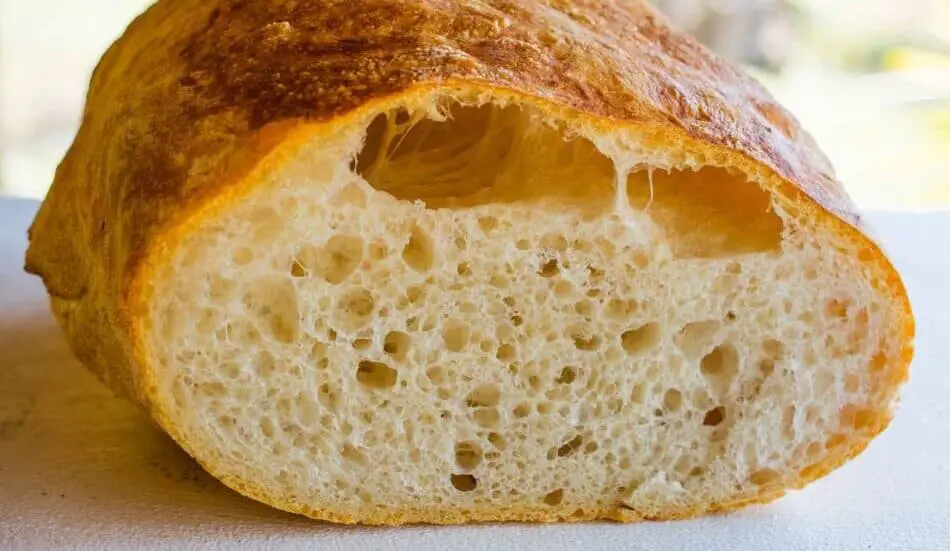
Sourdough with large holes is desirable in some breads, especially those made with dough of very high hydration such as the pan de cristal. Having said that, it is very unsightly when you have tunnels or large air holes that are unevenly spread out across the crumb.
Why does sourdough bread develop large and irregularly sized air holes and tunnels, and how to prevent it from forming.
1. Under mixing causes large air holes to accumulate at the outer edges of the loaf
If you find that the large tunnels and air holes seem to accumulate at the outer edges of the baked loaf, then the dough is likely to be under mixed.
When sourdough is under mixed, there is insufficient gluten network that is developed in the dough for it to trap carbon dioxide gasses that is released by the yeast and bacteria in sourdough during fermentation. Under mixing results in a flat dough that does not rise during the bulk fermentation process.
However, during shaping, a resilient outer skin is formed on the dough’s surface from the pulling action which increases the dough’s skin tension. This resilient outer skin is able to trap the carbon dioxide gasses while the internal under developed gluten network of the crumb is unable to.
When the loaf is loaded into the oven, expanding carbon dioxide gasses dissipates out of the internal portion of the crumb, moves towards the surface of the dough and gets trapped by the outer resilient skin. This results in most of the carbon dioxide gasses to accumulate at the outside edges of the baked loaf, creating very large air holes and tunnels below the crust while the rest of the crumb remains dense with little volume.
Different types of mixers uses different mixing arm which develops the dough at different rates. The average total mixing time when using a spiral mixer is around 6 minutes of total mixing (includes first speed mixing time and second speed mixing time).
The table below is extracted from Jeffrey Hammelman’s Bread Book that shows the relative mixing time between different mixers and hand mixing to develop the same dough to the same strength.
We can use the mixing time below as a sanity check to determine if we have indeed under mixed or over mixed our dough; if you fall short from the range in the table, increase mixing time to stay within these guidelines.
| Mixer | First Mixing (Minutes) | Second Mixing (Minutes) | Total Mixing Time (minutes) |
| Spiral | 3 | 3 | 6 |
| Planetary | 3 | 7 | 10 |
| Oblique | 5 | 9 | 14 |
| Stand Mixer (KitchenAid Type All Purpose Mixer) | 2.5 | 4.5 | 7 |
| Hand Mixing | 2 | 7 | 9 |
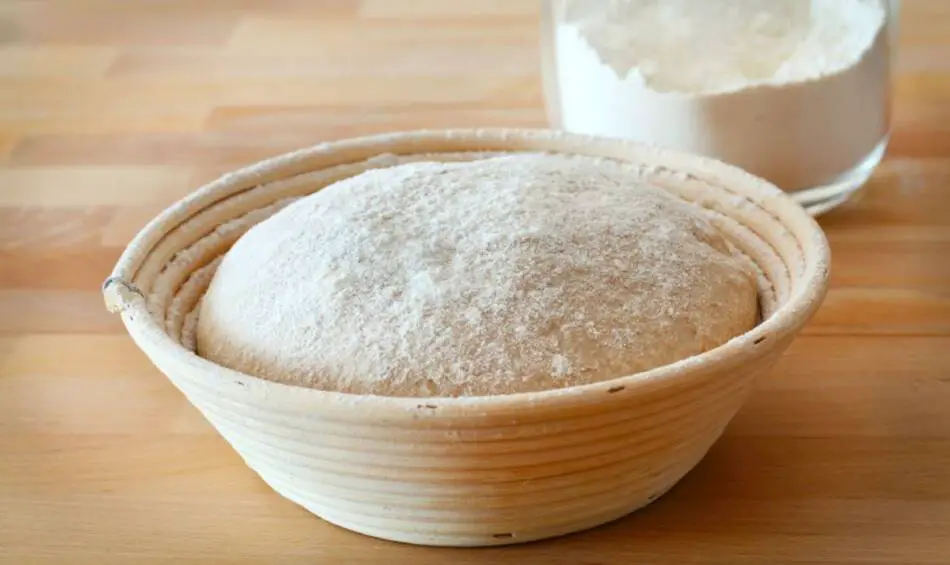
2. Under-proofing after shaping causes large air holes to accumulate at the outer edges of the loaf
If you find that the large tunnels and air holes seem to accumulate at the outer edges of the baked loaf, then the dough is likely to be under-proofed.
After the dough is shaped, the gluten network inside the dough is in high tension which tears easily; the dough requires adequate proofing time for it to relax before entering the oven.
When we bake too soon after shaping, the high tension gluten strands inside the dough tend to rupture during oven spring, and is unable to trap the expanding carbon dioxide gasses. The carbon dioxide gasses dissipates out of the centre of the dough and moves towards the outer edges of the dough.
Although the gluten network in the centre of the dough is unable to trap carbon dioxide gasses, the skin of the dough is elastic and strong enough to trap the carbon dioxide gasses.
Hence, a baked loaf that is under-proofed after shaping, will have large holes and tunnels at its outer edges from the accumulation of carbon dioxide gasses while the center of the dough remains dense and have a closed structure.
3. Uneven Degassing causes large air holes be concentrated in one area of the crumb
If you find that the large tunnels and air holes are clustered on one side of your baked loaf, then it is likely that the dough is degassed unevenly during folding.
If we do not press down on all sides of the dough during degassing, we may leave some parts of the dough to accumulate in carbon dioxide gasses which will result in large irregular holes in those areas as compared to the rest of the crumb.
When degassing, try applying even pressure that covers the full surface of the dough. Feel for any large irregular lumps of air and be sure to apply enough pressure to expel those gasses. The more force we apply, the smaller and more evenly dispersed the holes are.
Do not be afraid to use force while degassing, as long as you do not rip the dough. The degassed loaf will still rise as the gasses that are expelled will be replenished during the final proofing stage as fermentation still happens throughout the baking process right up until the first 10 minutes in the oven.
4. Uneven folding causes large air holes be concentrated in one area of the crumb
Uneven folding can also cause large air holes and tunnels to be concentrated in one area of the crumb.
Sometimes when folding we tend to pull and stretch one side of the dough more than the other, stretching the air holes on one side to a larger size, which causes irregularly large air holes on one area of the crumb. Another common error in folding is also to forget to fold all four sides of the dough, leaving one or two sides unfolded leads to uneven stretching of the gluten network, and irregular and large air holes to be formed.
When folding, remember to stretch each side as evenly as possible and to count your folds as you go along to ensure that you do not forget to fold any one side of the dough.
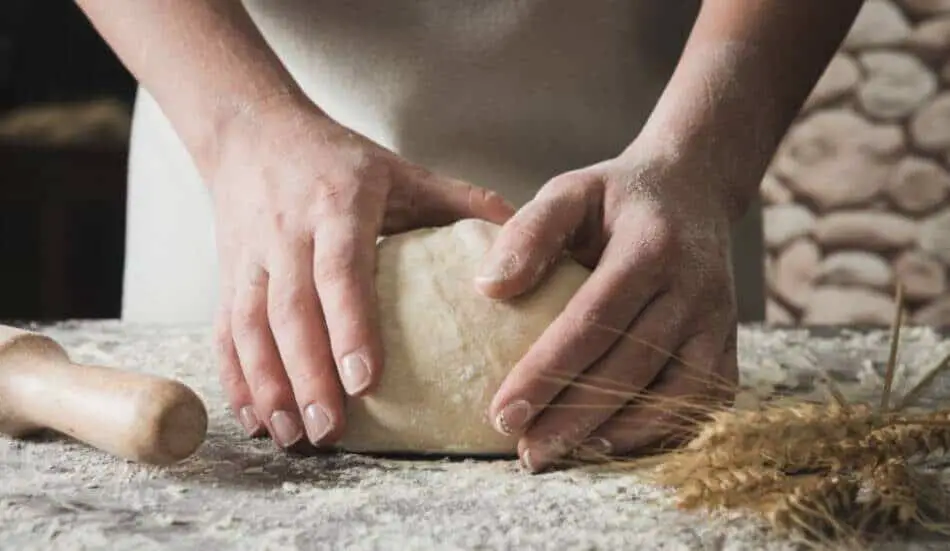
5. Uneven shaping causes large air holes be concentrated in one area of the crumb
The shaping process often includes the dough to be folded onto itself. Sometimes during this folding action, only some parts of the dough makes contact and sticks, while some parts don’t. The parts of the dough that doesn’t make contact and stick to itself creates an pocket of air within the dough. This relatively large air pocket expands during baking to create the unsightly tunneling and unusually large air holes in the crumb.
When shaping an oval loaf in particular, there is a higher risk for certain parts of the seam throughout the length of the bread to not be pressed down sufficiently which creates these large air pockets.
When shaping, remember to apply enough pressure throughout the whole length of the seam of the fold to make sure that the full length of the fold makes contact with the dough to prevent any air pockets from forming.